Gauge Needle Repair
Posted: Sun Dec 11, 2011 10:50 pm
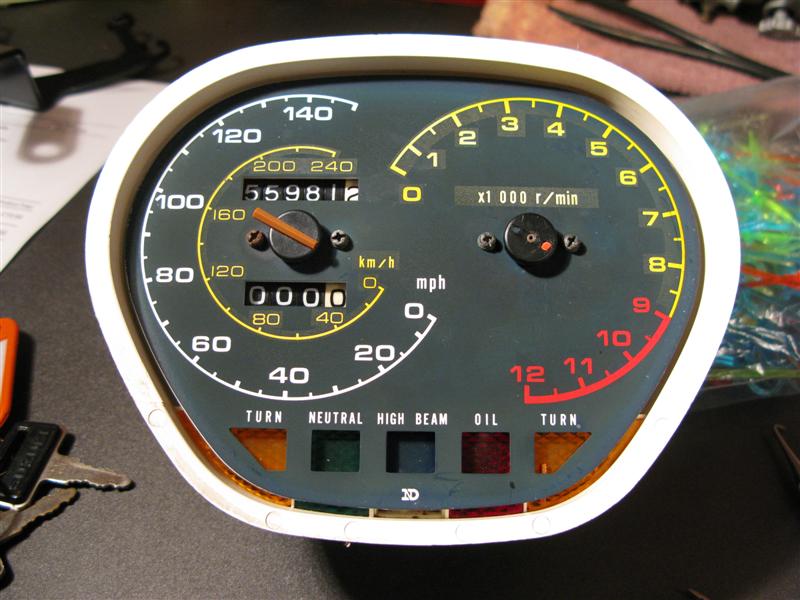
When I took the clocks off my Kat for the rebuild they were complete but when I came to clean them up I found one of the needles had broken. I took them apart with the intention of just making a repair to the broken needle but it was so brittle the pieces literally crumbled and I soon managed to snap the other one off as well.
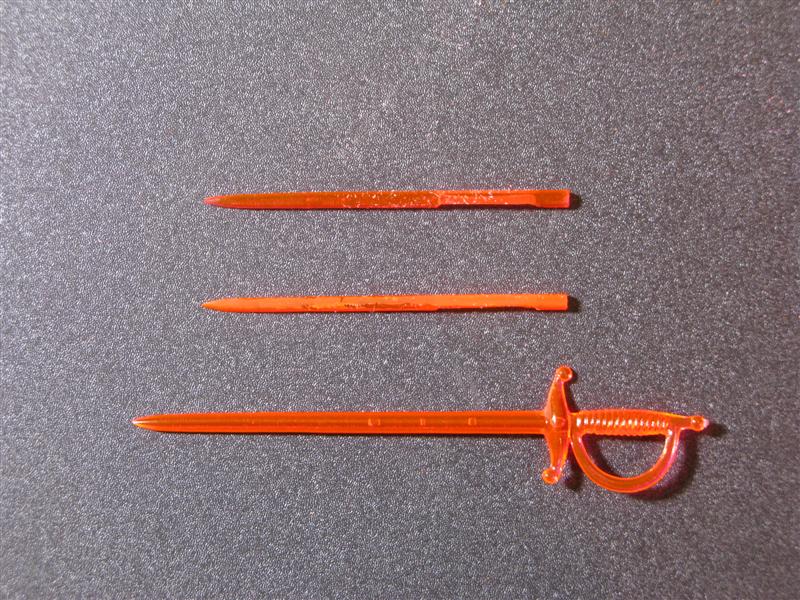
Saw a post by KeKat where he had used, of all things, plastic cocktail swords to replace them. Looked promising so I bought a bag of the plastic swords and set to it.
The swords come in a variety of colours and include orange as a good base for replacement needles.
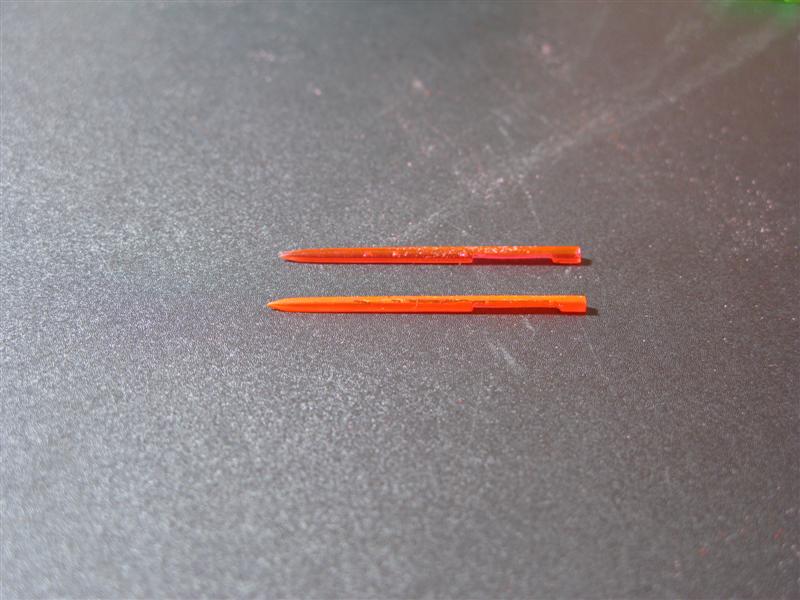
Using a photo I had of the clocks on the bike before dismantling I sorted out how long I wanted them and chopped a couple up.
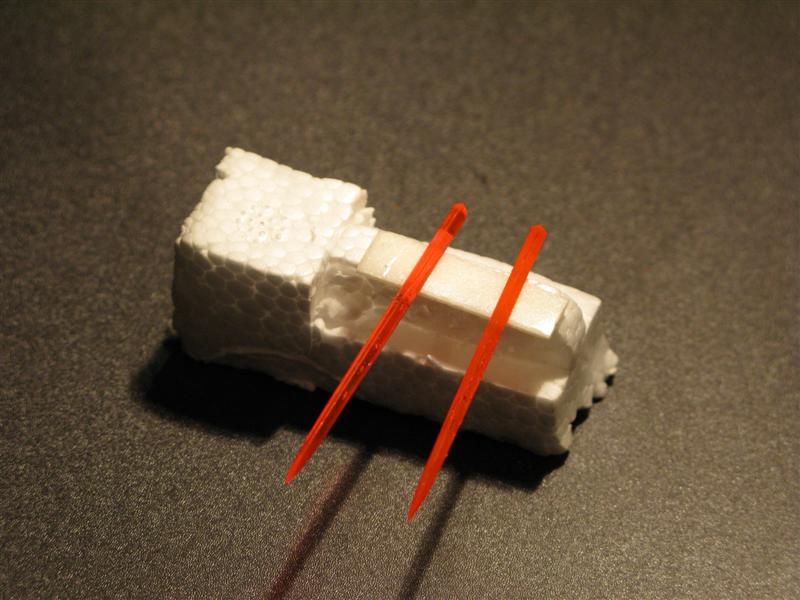
KeKat just painted the sword blades with flourescent orange paint and stuck them. They look good but are quite a bit fatter than the originals. However, if you look at the words edge on they are much nearer the original profile so I decided to mount them this way. In order to make them seat nicely and give a good gluing area I carefully filled a cutout in each sword so that they would sit nicely on the bosses.
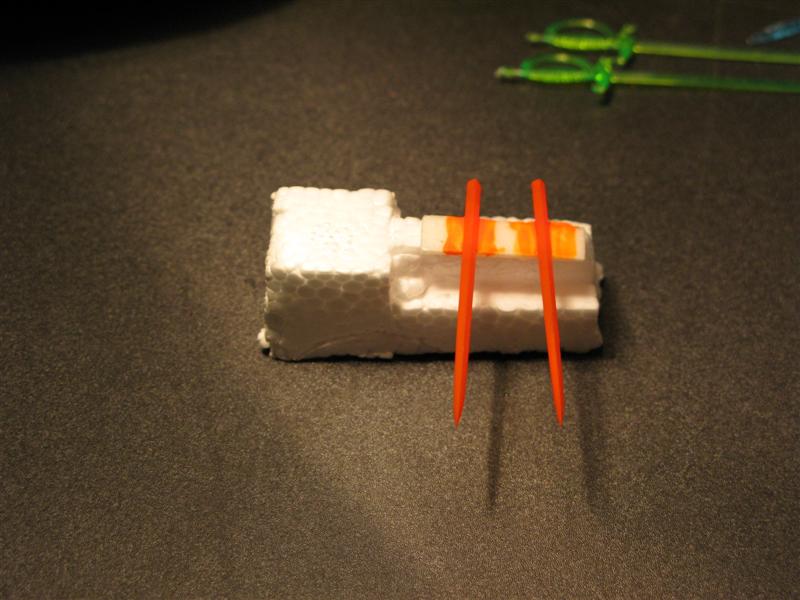
I then stuck them on a bit of polystyrene and gave them a couple of coats of flourescent orange paint.
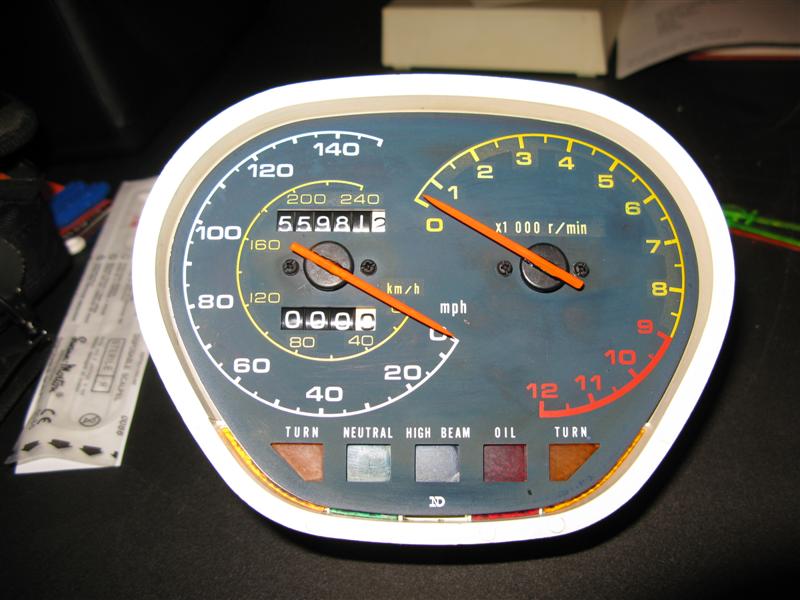
These were then glued to the bosses with epoxy glue. I'm pretty pleased with the result.
Saw a post by KeKat where he had used, of all things, plastic cocktail swords to replace them. Looked promising so I bought a bag of the plastic swords and set to it.
The swords come in a variety of colours and include orange as a good base for replacement needles.
Using a photo I had of the clocks on the bike before dismantling I sorted out how long I wanted them and chopped a couple up.
KeKat just painted the sword blades with flourescent orange paint and stuck them. They look good but are quite a bit fatter than the originals. However, if you look at the words edge on they are much nearer the original profile so I decided to mount them this way. In order to make them seat nicely and give a good gluing area I carefully filled a cutout in each sword so that they would sit nicely on the bosses.
I then stuck them on a bit of polystyrene and gave them a couple of coats of flourescent orange paint.
These were then glued to the bosses with epoxy glue. I'm pretty pleased with the result.